The React Lifecycle of a Component
Mastering the React Component Lifecycle: A Comprehensive Guide to Mounting, Updating, Error Handling, and Unmounting


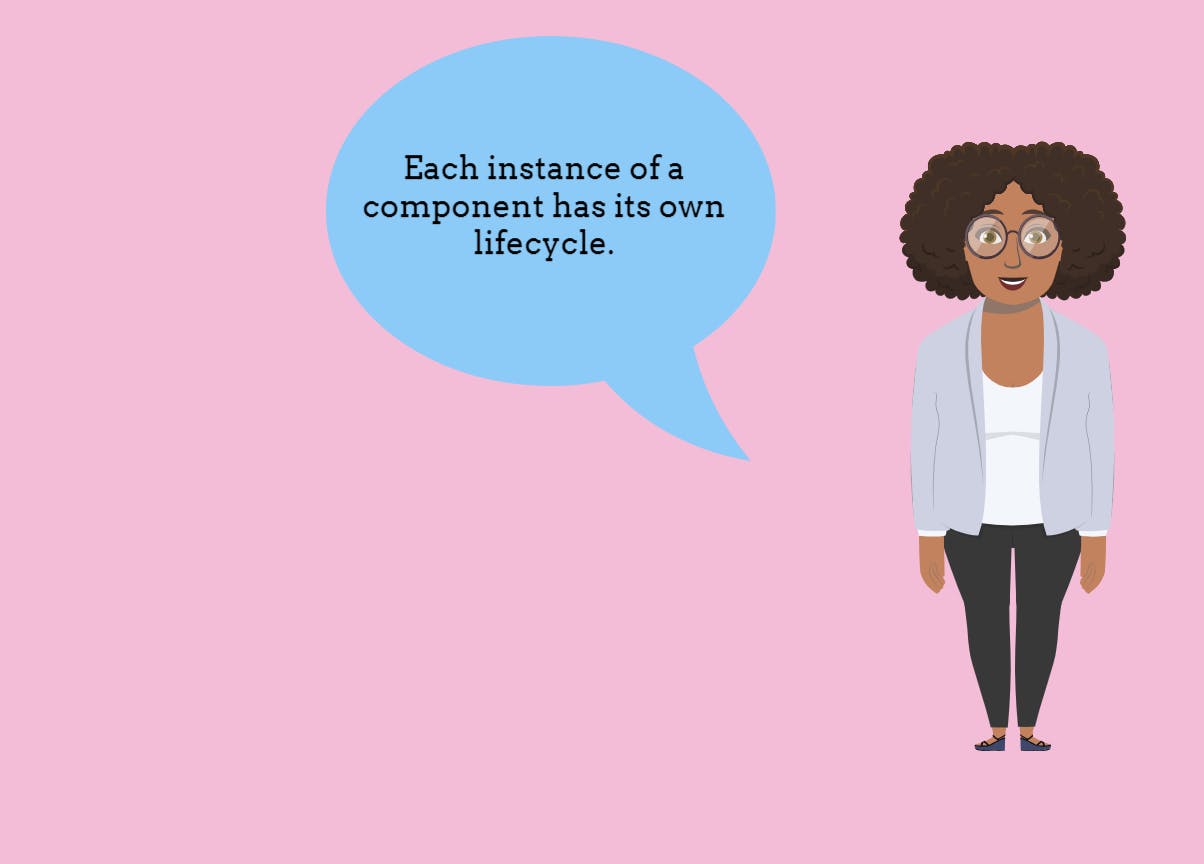
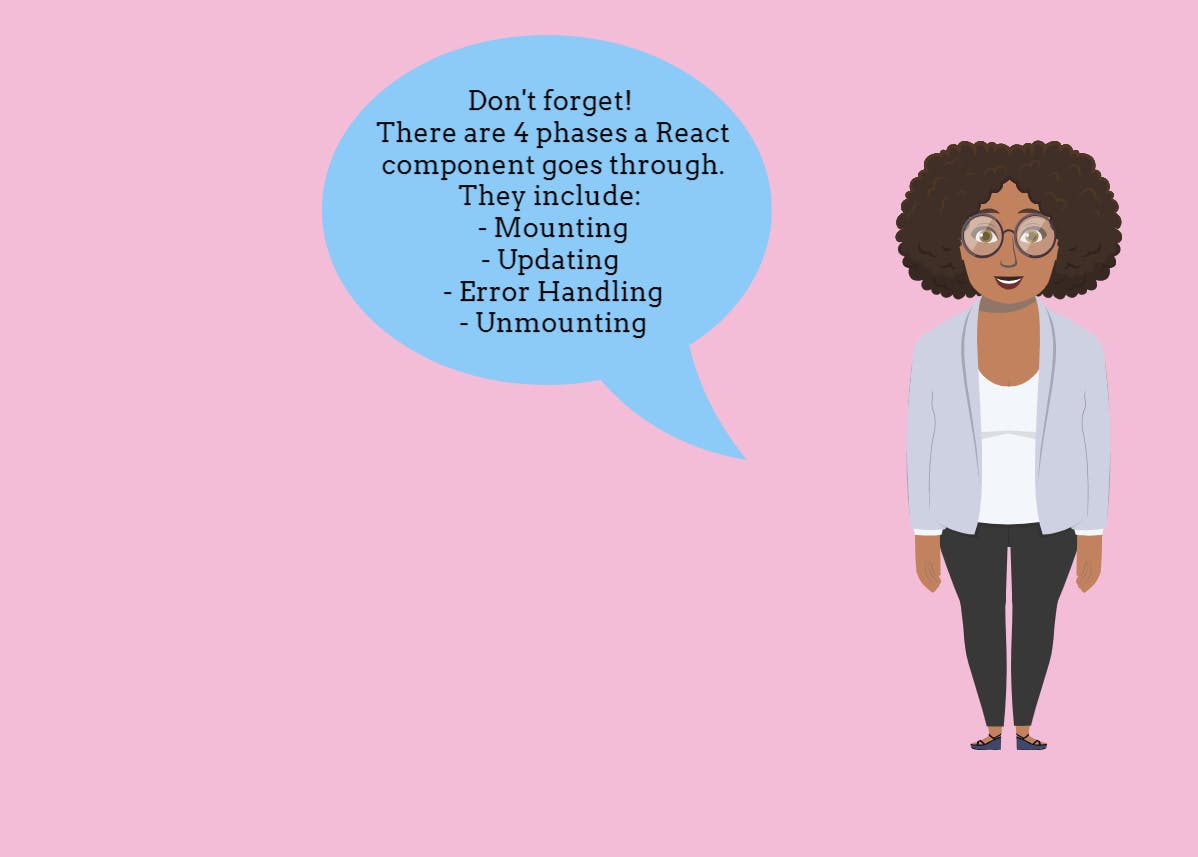
In React, every component has a lifecycle. There are 4 main phases of a component’s lifecycle: mounting, updating, error handling, and unmounting. Each step of the lifecycle has a set of methods that allow you to control the component's actions at different stages.

Throughout this article, we will understand what the React lifecycle is, the importance of understanding the lifecycle, each lifecycle method, and examples explaining how they work.
What is the React Lifecycle?
The React lifecycle is a series of predefined methods that are called at specific stages during the lifespan of a React component. These methods allow us to control and manage the behavior of a component throughout its existence.
The React Lifecycle Methods
Lifecycle methods are unique event listeners that listen for changes during certain stages of the lifecycle of a component. A component’s lifecycle runs in this order:
Placing a component into the DOM for the first time. This is called mounting.
Updating an existing component. This phase is called updating.
Detecting any errors associated with component renders. This phase is called error handling.
Removing the component from the DOM. This phase is called unmounting.
Let's take a closer look at each of the lifecycle methods and understand them better.
Mounting
Mounting is simply placing a React component into the DOM. This phase occurs when a component is initialized and inserted into the DOM. This is when you first decide to show a component on your web page for the first time. It runs once every time a component is rendered.
When a component is mounted, four methods get called, in this order:
constructor()static getDerivedStateFromProps()render()componentDidMount()
Let's take a closer look at each method.
constructor()constructor(props)The
constructor()method is called when a component is being initialized, and before it is rendered for the first time. It is called before anything else.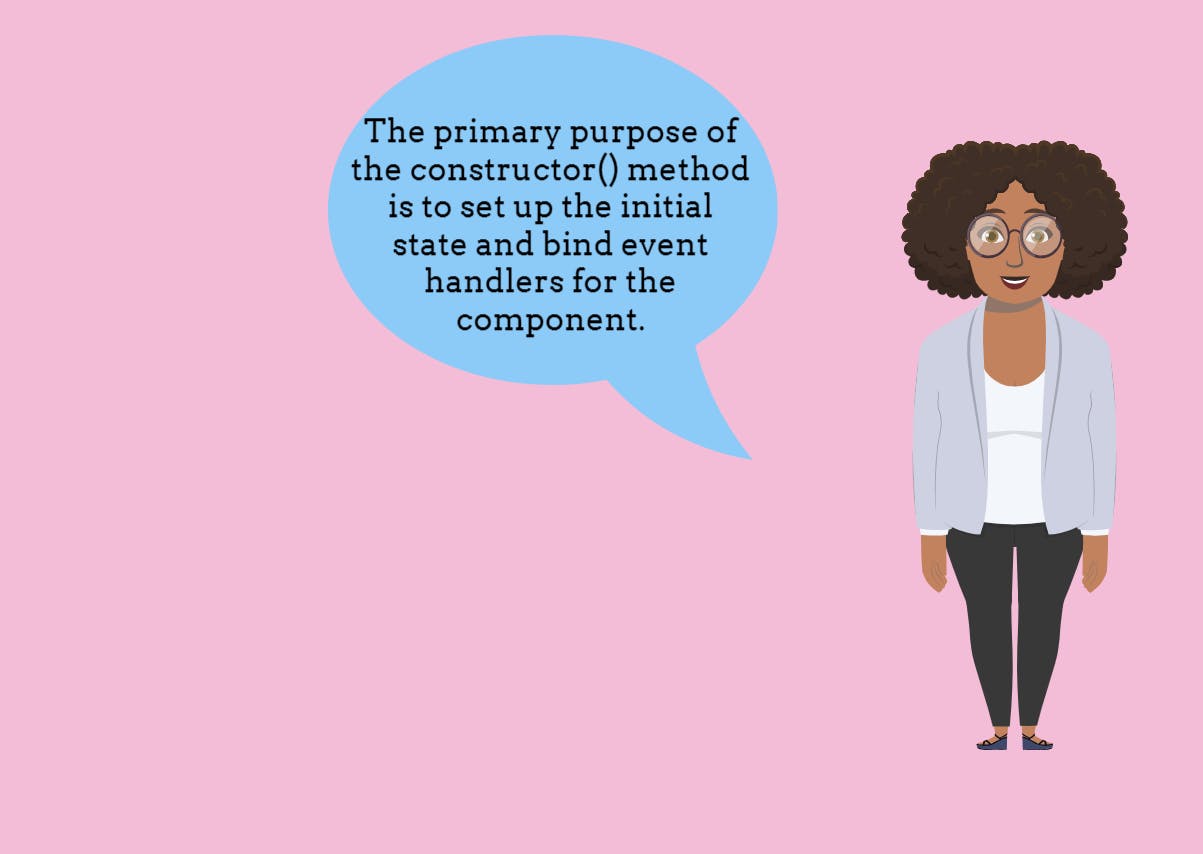
The
constructor()method in React is like a setup phase. It's used to get things ready before a component appears on the screen. You can use it to create the component's initial data, set default values, and ensure all its methods work correctly.The syntax for
constructor()in a class-based component is as follows:class MyComponent extends React.Component { constructor(props) { super(props); // Initialize state variables here this.state = { count: 0, isLoading: true, }; } // Other methods and lifecycle hooks }Here's the breakdown:
class MyComponent extends React.Component: This line declares a new React component calledMyComponent, which extends the base classReact.Component.constructor(props) {: This is theconstructor()method for your component. It takespropsas an argument, which allows you to access the properties passed down to the component.super(props);: This line is crucial. It calls the constructor of the parent class(React.Component)usingsuper(props), ensuring that the component inherits all the necessary functionality from the parent.this.state = { ... };: Inside the constructor, you are setting the initial state of the component using thethis.stateproperty. In this example, thestateis initialized with twostatevariables,countandisLoading, both having default values.// Other methods and lifecycle hooks: This comment indicates that you can add other methods and lifecycle hooks (e.g.,render(),componentDidMount(), etc.) to your component below the constructor to define its behavior.When using the
constructor()method, it is important to note the following:The
constructor()method in React takespropsas an argument.Always begin by calling
super(props)first. It lets the component inherit methods from its parent (React.Component) and set up things correctly.You don’t need a constructor if you’re using a functional component.
Never call
setState()insideconstructor().
static getDerivedStateFromProps()static getDerivedStateFromProps(props, state)This is a static method that is called right before rendering an element. It is used to set the
statebased on initialprops. It takes thestateas an argument and returns an object withstatechanges.Please note, this method exists for rare cases where the state depends on changes in props over time.
Let's analyze this simple code example:
 class MyComponent extends React.Component {
   // Static method for updating state based on props
   static getDerivedStateFromProps(nextProps, prevState) {
     if (nextProps.value !== prevState.value) {
       return { value: nextProps.value };
     }
     return null;
   }

   state = {
     value: this.props.value, // Initialize state from props
   };

   render() {
     return <div>{this.state.value}</div>;
   }
 }
This code creates a component that receives a value as a
propand updates its internal state whenever the prop changes. It uses a special static methodgetDerivedStateFromPropsto do this, which compares the new prop value to the current state value. If they are different, it updates the state with the new prop value.render()render()This method is always required and will always be called.
It is responsible for returning the JSX that defines the component's UI to the DOM.
render()is responsible for rendering the component's user interface (UI) based on the current state and props. It's called whenever the component is created or updated.Analyze the code example:
 class MyComponent extends React.Component {
   render() {
     return <div>Hello, {this.props.name}!</div>;
   }
 }
This code defines a component that displays a greeting message. The
render()method returns a simple JSX element containing the text "Hello, " followed by the name received as a prop, resulting in a personalized greeting.componentDidMount()componentDidMount()This method is called immediately after the component has been rendered into the DOM. It is called once after the first rendering. In this situation, you run statements that require that the component already exists in the Document Object Model (DOM).
Let's take a look at the following:
 class MyComponent extends React.Component {
   componentDidMount() {
     // Perform initial setup or fetch data here
     console.log("Component is now mounted!");
   }

   render() {
     return <div>Hello, World!</div>;
   }
 }
This code creates a component that displays a message and runs some code after the component is first rendered. The
componentDidMount()method is used to trigger an action once the component is ready. In this example, it logs "Component is now mounted!" to the console when the component is fully rendered and ready to interact.
Updating
Updating happens when a component is being rendered as a result of changes to either its props or state. In a nutshell, updating occurs any time a component's state or props change.
When a component is updated, five methods get called, in this order:
static getDerivedStateFromProps()shouldComponentUpdate()render()getSnapshotBeforeUpdate()componentDidUpdate()
Let’s take a closer look at each method.
static getDerivedStateFromProps()static getDerivedStateFromProps(props, state)This is the first method that is called when a method gets updated. It is used to update the components
statebased on changes inprops. Before showing something on the screen, the component checks if its properties (like input values) changed and updates its internalstateaccordingly.Let's take a look at the following example:
 class MyComponent extends React.Component {
   static getDerivedStateFromProps(nextProps, prevState) {
     if (nextProps.value !== prevState.value) {
       return { value: nextProps.value };
     }
     return null;
   }

   state = {
     value: this.props.value,
   };

   render() {
     return <div>{this.state.value}</div>;
   }
 }
This code creates a component that receives a value as a
propand updates its internal state whenever thepropchanges. It uses a special static methodgetDerivedStateFromPropsto do this, which compares the new prop value to the current state value. If they are different, it updates the state with the newpropvalue.shouldComponentUpdate()shouldComponentUpdate(nextProps, nextState)This method is called before a component rerenders. It allows you to control whether the component should update or not based on certain conditions. A Boolean value can be returned.
This value specifies whether React should continue with the rendering or not. Basically, before updating anything on the screen, the component checks if it needs to change. If not, it avoids unnecessary work.
The default value is
true.Here is a simple example to explain this:
 class MyComponent extends React.Component {
   shouldComponentUpdate(nextProps, nextState) {
     return nextProps.value !== this.props.value;
   }

   render() {
     return <div>{this.props.value}</div>;
   }
 }
This code defines a component that displays the value received as a
prop. Before updating the component, it checks if the newpropvalue is different from the current one. If it's different, it allows the component to re-render, avoiding unnecessary updates when thepropremains the same.render()render()This is called when a component gets updated. It has to rerender the HTML to the DOM, with the updated changes. It's like a recipe that tells React what to show on the screen.
Here is a simple example:
 class MyComponent extends React.Component {
   render() {
     return <div>Hello, {this.props.name}!</div>;
   }
 }
This code creates a component that displays a greeting message. The
render()method returns a simple JSX element containing the text "Hello, " followed by the name received as aprop, resulting in a personalized greeting.getSnapshotBeforeUpdate()getSnapshotBeforeUpdate(prevProps, prevState)In this method, you can access the
propsandstatebefore the update.getSnapshotBeforeUpdate()is called right before the changes of the Virtual DOM are applied to the actual DOM.This method captures some information from the DOM before an update and allows you to use it in
componentDidUpdate(). It's like taking a quick picture of the component's current state just before it changes.Take a look at the following example:
 class MyComponent extends React.Component {
   getSnapshotBeforeUpdate(prevProps, prevState) {
     // Capture information from the DOM before updating
     return null;
   }

   componentDidUpdate(prevProps, prevState, snapshot) {
     // Use the snapshot to do something after updating
   }

   render() {
     // ... Component UI ...
   }
 }
This code creates a component that captures information from the DOM just before an update. The method
getSnapshotBeforeUpdate()returnsnull, so it doesn't save any information. It's used to illustrate how the method works in conjunction withcomponentDidUpdate().componentDidUpdate()componentDidUpdate(prevProps, prevState, snapshot)This method is called after the component is updated and rerendered in the DOM. It is useful for performing additional actions after a component update, such as updating the
state. It's like saying, "Hey, the component is updated, do something after that."Take a look at the following:
 class MyComponent extends React.Component {
   componentDidUpdate(prevProps, prevState) {
     // Do something after the component is updated
   }

   render() {
     // ... Component UI ...
   }
 }
This code defines a component that displays a counter. The
componentDidUpdate()method is called after the component is updated, and it could be used to perform actions after the update, like logging or updating the DOM.
Error Handling
This occurs when there is an error during rendering, in a lifecycle method, in the constructor of any child component.
When an error occurs, two methods get called, in this order:
getDerivedStateFromError()componentDidCatch()
Let’s take a closer look at each method.
getDerivedStateFromError()static getDerivedStateFromError(error)This is like a safety net for React components. When an error happens inside a component, this method is called. It allows the component to update its state to show an error message, so the app doesn't completely break.
Here is an example:
 class ErrorBoundary extends React.Component {
   static getDerivedStateFromError(error) {
     // Update state to handle the error
     return { hasError: true };
   }

   state = {
     hasError: false,
   };

   render() {
     if (this.state.hasError) {
       return <div>Something went wrong.</div>;
     }

     return this.props.children;
   }
 }
In this example,
getDerivedStateFromError()is used to create an error boundary (ErrorBoundary). When a child component throws an error during rendering, the error boundary'sgetDerivedStateFromError()method updates the state to handle the error gracefully. The error message is displayed in the UI, preventing the entire application from crashing.componentDidCatch()componentDidCatch(error, info)When an error occurs inside a child component, the parent component can use this method to catch the error and handle it. It's called after an error has been thrown during rendering, and is typically used for logging error messages or reporting errors to a service.
People might not know that it can be used in combination with
getDerivedStateFromError()to create more sophisticated error handling. It's a way to prevent errors in one part of your app from affecting the whole app.Let's take a look at this example:
 class ErrorBoundary extends React.Component {
   state = {
     hasError: false,
   };

   componentDidCatch(error, info) {
     // Log the error or report it to a service
     console.error("Error caught:", error);
   }

   render() {
     if (this.state.hasError) {
       return <div>Something went wrong.</div>;
     }

     return this.props.children;
   }
 }
In this example,
componentDidCatch()is used in conjunction withgetDerivedStateFromError()in theErrorBoundarycomponent. When an error occurs in a child component,componentDidCatch()logs the error message to the console. This allows developers to be aware of and troubleshoot the issue without crashing the entire application.
Unmounting
Unmounting occurs when a component is removed from the DOM. It calls only one method: componentWillUnmount().
componentWillUnmount()
componentWillUnmount()
This is called when the component is about to be removed from the DOM. It's useful for performing cleanup tasks and freeing resources. People might not be aware that it's a good place to unsubscribe from event listeners or cancel ongoing network requests to prevent memory leaks.
Here is a simple example explaining componentWillUnmount() :
class MyComponent extends React.Component {
  // Initialize a timer variable
  timer = null;

  componentDidMount() {
    // Set up a timer when the component mounts
    this.timer = setInterval(() => {
      console.log("Tick!");
    }, 1000);
  }

  componentWillUnmount() {
    // Clean up the timer before the component unmounts
    clearInterval(this.timer);
  }

  render() {
    return <div>Component with timer</div>;
  }
}
In this example, the component sets up a timer when it mounts using componentDidMount(). The timer logs "Tick!" to the console every second. To prevent memory leaks, the component uses componentWillUnmount() to clean up and clear the timer before the component is removed from the UI. This ensures that the timer stops running when the component is no longer needed, avoiding any potential issues caused by orphaned timers.
Importance of Understanding The React Lifecycle
Traditional lifecycle methods are gradually being replaced with hooks, such as useState and useEffect. Understanding the React lifecycle is important for five reasons:
Understanding Hooks: Understanding the lifecycle can make grasping the concept and benefits of hooks easier.
Migrating Codebases: When migrating from class components to functional components with hooks, knowing the lifecycle aids in the process.
In-Depth Knowledge: It provides a deeper understanding of React's internal workings and how components interact with the DOM.
Troubleshooting: In complex scenarios, knowing the lifecycle helps identify and fix issues with component behavior.
Complementary Skills: It's a valuable skill for React developers, allowing for more versatile problem-solving and better communication with others who use class components.
Summary
This article pretty much summed up the React lifecycle of a component. Developers still need to understand the lifecycle even though functional components are often used in conjunction with React Hooks.
Thank you for reading my article! If you have any questions or thoughts, let me know in the comments.
Resources
Glossary
Child component: This is a small, independent piece of code that works together with other child components and a parent component to build a complete and functional user interface.
DOM: DOM stands for Document Object Model. It is a programming interface provided by web browsers that allow developers to interact with web page content and structure as if it were a collection of objects. It enables dynamic and interactive web development by providing the ability to access, modify, and update the content and behavior of web pages using JavaScript.